
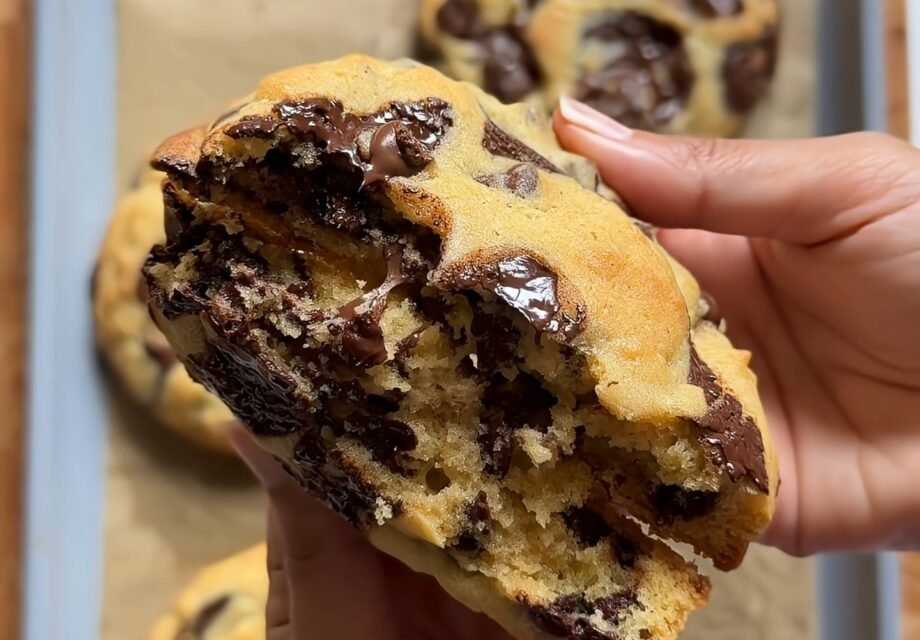
What makes bakery style chocolate chip cookies different isn’t just size—it’s structure. They’re taller, richer, and more layered in texture than your average cookie. You get a lightly crisp shell, a chewy middle, and pockets of molten chocolate throughout. That contrast is what people are really after, and once you understand the small details that create it, you’ll be able to recreate that bakery-style result consistently.
This recipe focuses on those details: how you cream the butter, how you shape the dough, and even the temperature of your ingredients. None of it is complicated, but each step plays a role in building that signature thick cookie.
Another thing that often gets overlooked is oven behavior. Home ovens can vary more than you think, and even a small temperature difference can change how these bakery style chocolate chip cookies bake. If your cookies are browning too quickly on the bottom or staying pale on top, it’s worth checking your oven with a thermometer. Small adjustments here can make a big difference in getting that bakery-style finish.
Pan choice matters more than most people expect. Lighter-colored aluminum baking sheets reflect heat and help cookies bake more evenly, while darker pans can cause faster browning on the bottoms before the centers are set. If you notice overly dark bases, switching pans or doubling up your baking sheets can help regulate that heat.
My Go-To Trick for Thick, Gooey Bakery Style Chocolate Chip Cookies
I still remember the first time I tried to make these like a bakery—they spread into flat pancakes. Still tasty, but not what I was craving. My kids didn’t complain (cookies are cookies in their world), but I knew I needed that thick, slightly underbaked center with those crisp edges.
The biggest shift happened when I stopped rushing the butter and paid attention to texture. Creaming it properly until pale and fluffy changed everything. Then I started using cold eggs and slightly rough dough balls instead of smooth ones. That small change? A huge difference. Suddenly, I had cookies that stayed tall instead of melting into each other.
Another thing that helped was resisting the urge to over-handle the dough. The more you mix and smooth it, the more you encourage spreading. Keeping the dough a little craggy and stacked gives it structure as it bakes, which is exactly what bakeries do.
I also learned that letting the dough rest—even briefly—helps hydrate the flour. This creates a thicker dough that bakes up with better structure and deeper flavor. Even 20 minutes can improve the final result if you have the time.
Now this is one of my go-to dinner desserts—especially on weekends when I want something cozy baking in my kitchen. Let me show you exactly how I do it.
Why You’ll Love These Bakery Style Chocolate Chip Cookies
- Thick, soft centers that stay gooey even after cooling, with just the right crisp bite on the edges
- Big, bakery-style cookies that actually look impressive without any complicated techniques
- You don’t need anything fancy here—everything comes straight from a basic pantry
- Flexible chocolate combinations so you can tweak sweetness depending on what your family likes
- This always disappears fast in my house, especially when they’re still slightly warm
- The dough can be made ahead, making it perfect for baking fresh cookies on demand
- Freezer-friendly, so you can always have bakery style chocolate chip cookies ready to bake
What You’ll Need
Dry Base
- All-purpose flour — gives structure; scoop and level it so the cookies don’t turn dense or dry
- Baking powder — helps lift the cookies upward so they stay thick instead of spreading flat
- Baking soda — adds that golden color and slight crispness on the edges
- Cornstarch — this is my quiet secret; it keeps the inside soft and almost creamy
- Pinch of salt — balances sweetness and makes the chocolate stand out more
Sweeteners
- Dark brown sugar — adds moisture and chewiness; this is the one I always reach for because it gives that deep, almost caramel-like taste
- Granulated sugar — helps the edges crisp up and keeps the texture from getting too heavy
Wet Ingredients
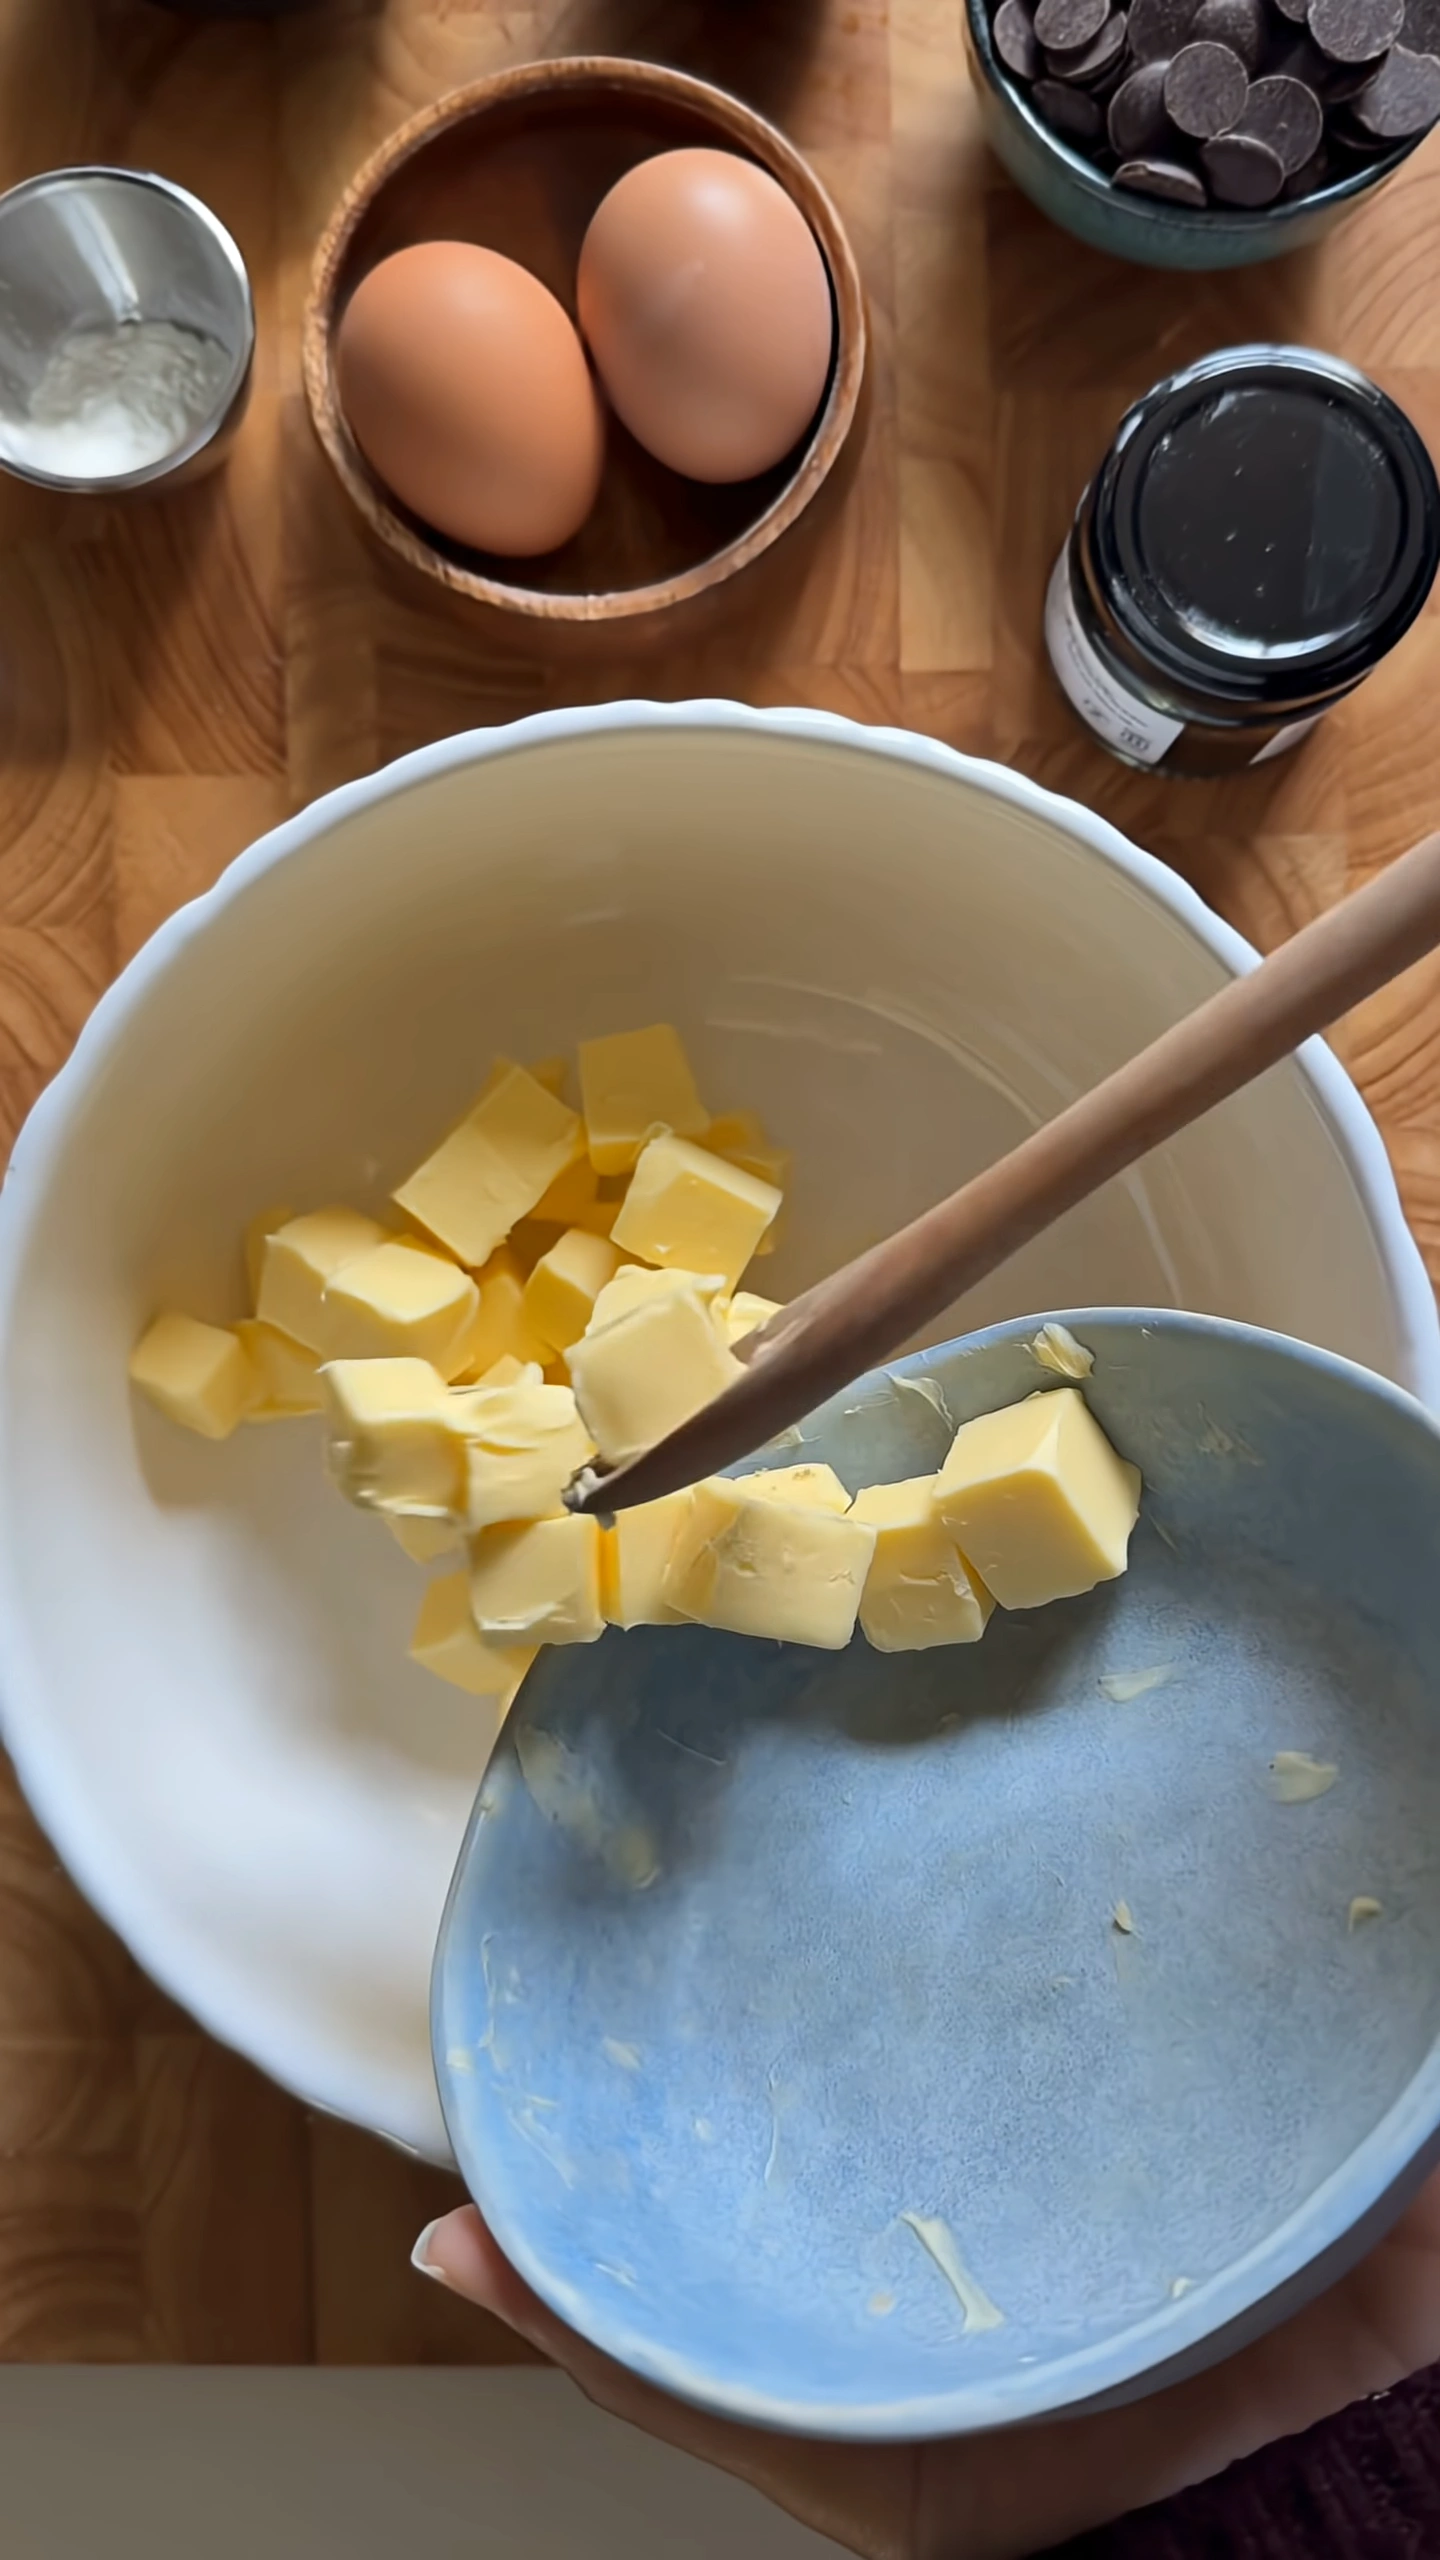
- Unsalted butter, slightly softened — not melted; you want it soft enough to cream but still holding its shape
- Cold eggs — sounds small, but this slows spreading and keeps cookies thicker
- Vanilla extract — rounds everything out and makes your kitchen smell amazing
Chocolate Add-ins
- Semi-sweet chocolate chips — classic sweetness and structure
- Dark chocolate chips — deeper, slightly bitter contrast that keeps things from being overly sweet
Optional Upgrades
- Chocolate chunks — create larger melted pools for a more bakery-style look
- Flaky sea salt — sprinkled after baking for contrast and a flavor boost
- Chopped walnuts or pecans — add crunch and a slightly toasted flavor
Ingredient Notes for Better Results
Flour quality can slightly change the outcome. If your cookies feel too thick or dry, your flour may be more absorbent—reduce it by a tablespoon next time. Brown sugar should be soft and fresh; if it’s hardened, it won’t cream properly and can affect texture.
Butter temperature is one of the most important details. If it’s too warm, the dough becomes greasy and spreads quickly in the oven. If it’s too cold, it won’t cream well. You’re aiming for butter that’s soft enough to press with your finger, but not shiny or melting.
If you want even more control, weighing your flour instead of using cups can improve consistency. Small measuring differences add up quickly in cookie dough, especially when you’re aiming for a thick bakery-style result.
How to Make Bakery Style Chocolate Chip Cookies
Prep & Mix the Dry Ingredients
- Step 1: Whisk dry mix — In a medium bowl, whisk flour, baking powder, baking soda, cornstarch, and salt until everything looks evenly blended and light. This step helps distribute the leavening so the cookies rise evenly.
Cream the Butter and Sugars
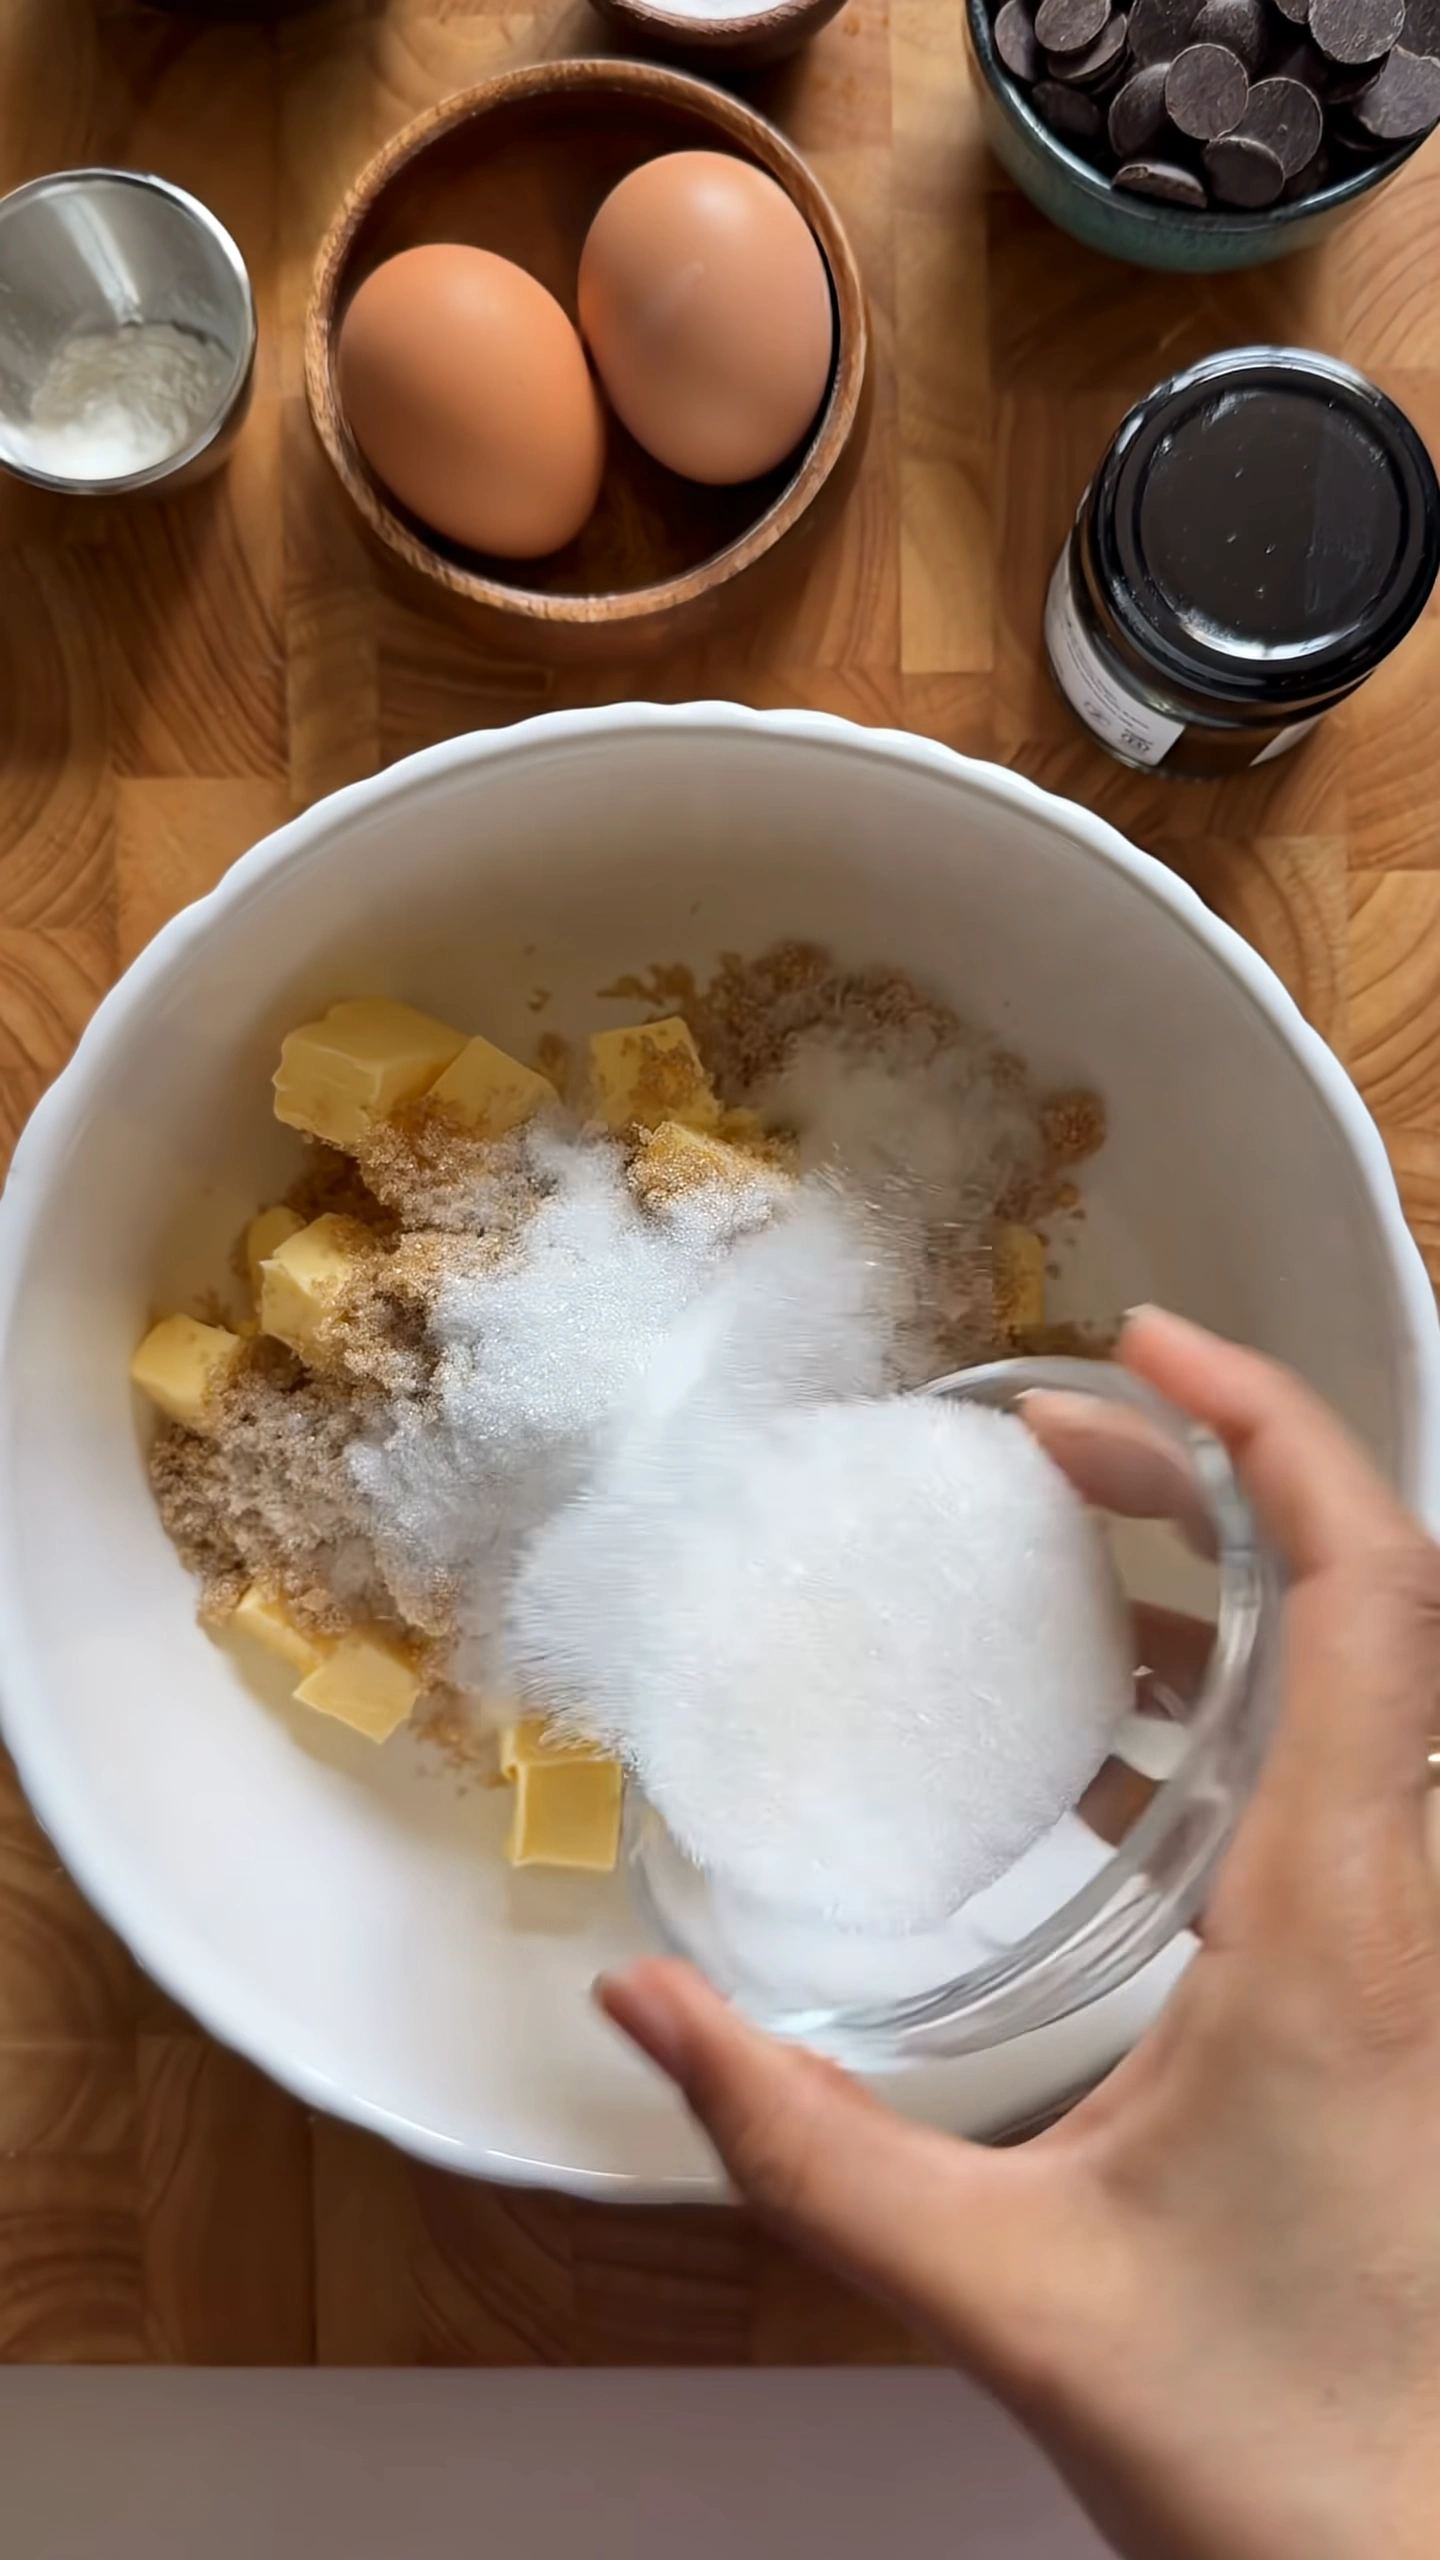
- Step 2: Cream until pale — Beat butter with both sugars for about 3–4 minutes. You’re looking for a lighter color and fluffy texture. If it still looks dense, keep going. This step traps air, which helps create lift.
- Step 3: Add eggs and vanilla — Mix in eggs one at a time, then add vanilla. Let it run another few minutes until smooth and slightly glossy. The mixture should look creamy, not separated.
Combine & Fold
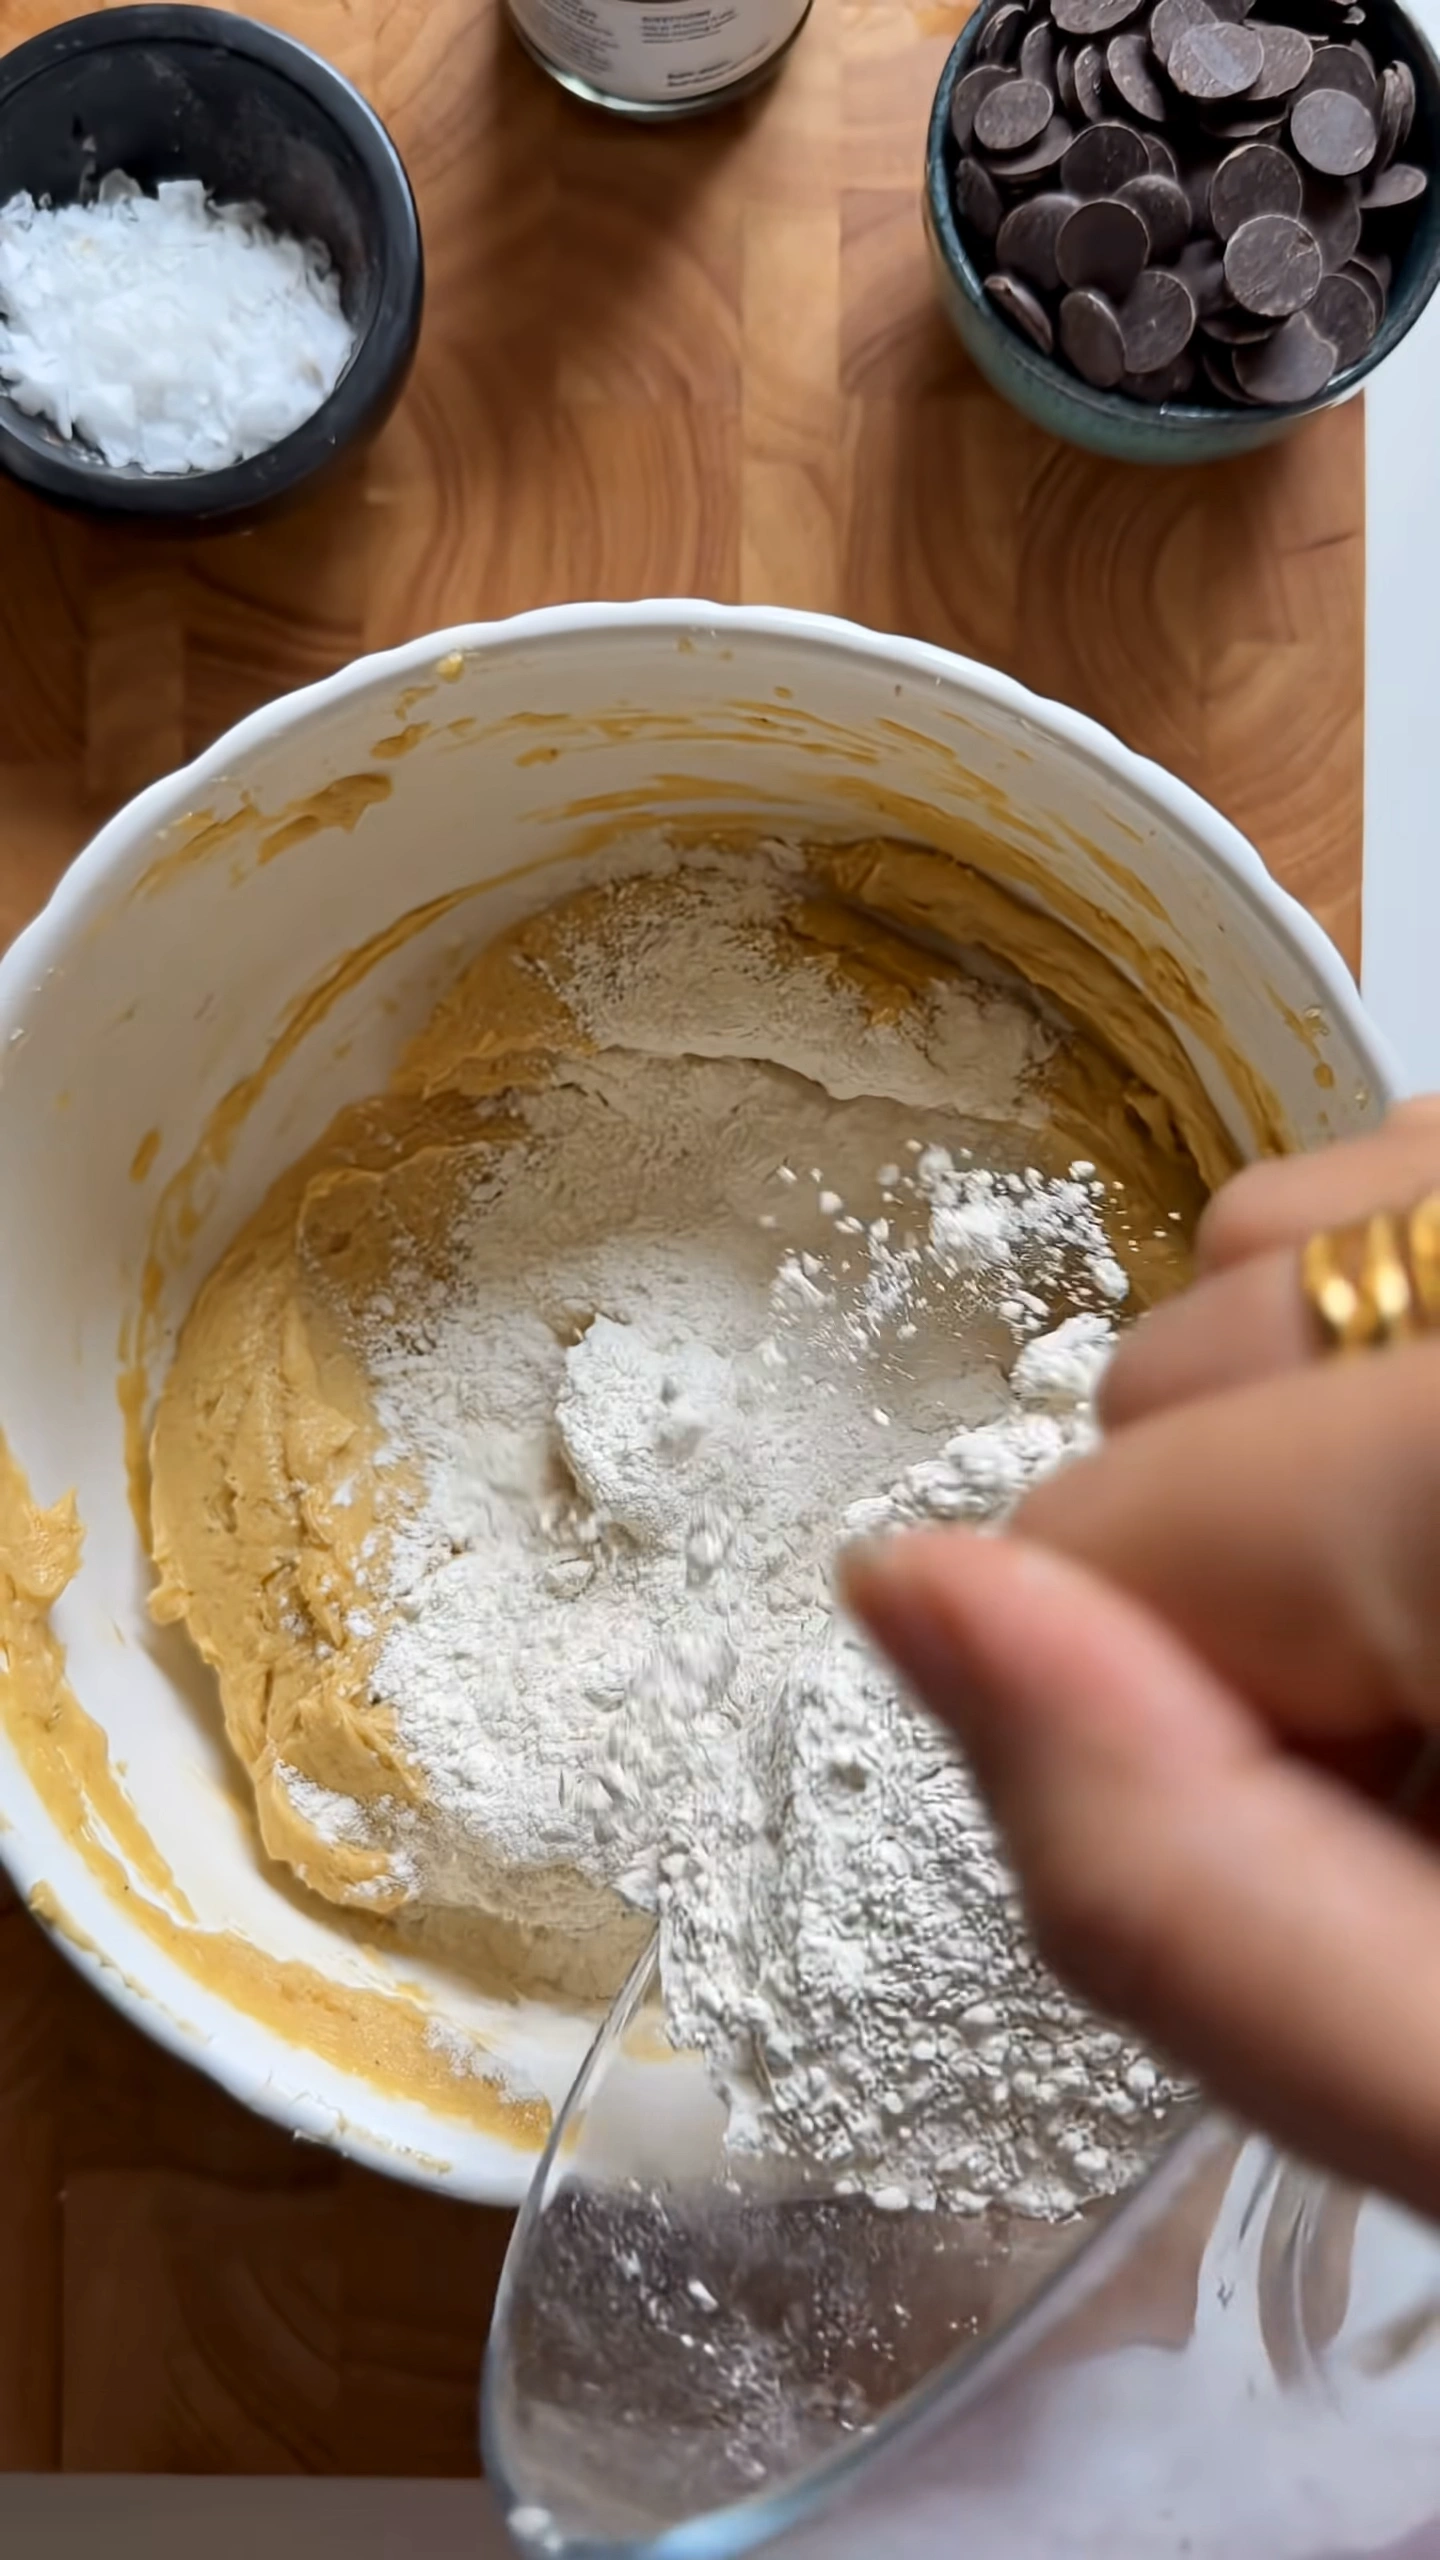
- Step 4: Bring it together — Add dry ingredients slowly and mix just until combined. Don’t overmix—this is where people accidentally make tough cookies.
- Step 5: Add chocolate — Fold in both chocolates evenly. I like to save a handful to press on top later so they look extra full and bakery-style.
Shape for Height
- Step 6: Portion dough — Scoop about 2 tablespoons per cookie. Stack the dough slightly taller rather than rolling it into a ball.
- Step 7: Keep it rough — Don’t smooth the tops. Those ridges help create texture and keep the cookies from spreading too quickly.
- Step 8: Space generously — Place only 4 cookies per sheet with about 4 inches between them. They need room to expand properly.
Bake & Set Bakery Style Chocolate Chip Cookies
- Step 9: Bake bakery style chocolate chip cookies — Bake at 350°F (180°C) for 13–16 minutes until edges are golden and centers look slightly underdone. That soft center is what you want.
- Step 10: Finish with chocolate — Press a few extra chips or chunks on top right out of the oven for that signature bakery look.
- Step 11: Cool on pan — Let them sit for 5 minutes before moving. They’ll finish setting from the residual heat.
If you’re curious how different techniques affect cookies, I once compared methods with this classic chocolate chip cookie breakdown, and it really helped me understand why small changes matter.
Pro Tips for Bakery Results Every Time
- Use room-temperature butter that still holds its shape—too soft and your cookies will spread
- Chill the dough for 20–30 minutes if your kitchen is warm
- Bake one tray at a time for even heat distribution
- Use parchment paper instead of greasing the pan to control spreading
- Slightly underbake—cookies continue cooking on the hot tray after removal
For even thicker cookies, try chilling the shaped dough balls instead of the whole bowl of dough. This keeps their height intact and prevents excess spreading right when they hit the oven.
Troubleshooting Texture Issues
bakery style chocolate chip cookies aren’t turning out quite right, small adjustments usually fix it quickly. If they’re too flat, your butter was likely too warm or your flour measurement was off. If they’re too thick and not spreading at all, the dough may be too cold or slightly overmeasured on flour.
Dry or crumbly cookies often come from overbaking or too little sugar. Remember, these cookies should look slightly underdone in the center when you pull them out. They firm up as they cool, so trusting that process is key.
cookies bake unevenly, try rotating the tray halfway through baking. Some ovens have hot spots, and this simple step helps everything bake more consistently.
If the centers seem raw even after cooling, your oven temperature may be running low. In that case, increase the temperature slightly or extend the bake time by a minute or two while keeping an eye on the edges.
Common Mistakes to Avoid
- Overmixing the dough — leads to tough, dense cookies
- Too little flour — causes excessive spreading and thin cookies
- Skipping proper creaming — results in flat, less structured cookies
- Using melted butter — removes the air needed for lift
- Crowding the pan — traps heat and causes uneven baking
Flavor Variations to Try
Once you’ve mastered the base, it’s easy to customize these bakery style chocolate chip cookies without changing the structure.
- Swap half the chocolate chips for white chocolate or butterscotch chips
- Add a teaspoon of espresso powder to deepen the chocolate flavor
- Mix in toasted coconut for a slightly chewy texture twist
- Use browned butter (cooled) for a nutty, richer flavor
You can also experiment with a mix of chocolate textures—chips, chunks, and shaved chocolate all melt differently and create a more dynamic bite.
How to Serve It
I always serve these slightly warm because that’s when the chocolate is still melty and the centers are soft and rich. A tiny sprinkle of flaky salt on top right after baking makes a huge difference—it cuts the sweetness just enough.
Cold milk is the obvious pairing, but honestly, I love these with a strong coffee in the afternoon when the kids finally quiet down. The texture firms up by the next day, turning chewier, which I actually love just as much.
For something extra, turn them into ice cream sandwiches or crumble them over vanilla ice cream. They also make a great base for cookie sundaes with hot fudge and whipped cream.
If you’re serving guests, slightly underbake and rewarm just before serving. That fresh-from-the-oven texture is what gives these cookies their bakery-style appeal.
Storage and Reheating
Store baked cookies in an airtight container at room temperature or in the fridge for up to 5 days. Keeping a slice of bread in the container can help maintain softness.
You can freeze both baked cookies and raw dough balls for up to 2 months. Bake straight from frozen—just add 2–3 extra minutes.
To reheat, pop them in a 300°F oven for 5–7 minutes or microwave for about 10–15 seconds. I like placing a damp paper towel over them in the microwave so they don’t dry out.
If you plan to freeze dough, pre-portion it first. That way you can bake just a few bakery style chocolate chip cookies at a time whenever the craving hits.
If you enjoy experimenting with cookie textures, I’ve also tried ideas inspired by chunky loaded cookie styles, and it’s fun to mix things up once you master this base.
FAQ
Why are my cookies spreading too much?
Your butter may be too soft or melted, or the dough was overmixed. Try chilling the dough for 20–30 minutes before baking. Also check your flour measurement—too little flour causes spreading quickly in the oven.
Can I use only one type of chocolate?
Yes, you can use all semi-sweet or all dark chocolate. Mixing both gives a better balance of sweetness and richness, but using one type won’t affect the texture of the cookies.
How do I get thicker cookies?
Use cold eggs, avoid flattening the dough, and keep the dough mounds tall and rough. Baking on parchment and spacing cookies well also helps them hold their shape instead of spreading.
Can I make the dough ahead of time?
Yes, you can refrigerate the dough for up to 48 hours. The flavor actually deepens as it rests. Let it sit at room temperature for 10–15 minutes before scooping if it feels too firm.
For more on this topic, check out Perfect Chocolate Chip Cookies, Cowboy Cookies, and Samoas Cookie Pie Recipe for more bakery style chocolate chip cookies inspiration and variations.
Related Recipes
- Cheesy Ground Beef Casserole
- Garlic Butter Steak Bites
- Crispy Roasted Potatoes
- Smash Burger Bbq Style
- Bbq Pulled Pork Sliders
Bakery style chocolate chip cookies
- Prep Time: 10
- Cook Time: 30
- Total Time: 40
- Yield: 12 large cookies 1x
- Category: Dessert
- Method: Baking, Mixing
- Cuisine: American
- Diet: Vegetarian

Description
Bakery style chocolate chip cookies feature thick, soft centers with crisp golden edges and rich pools of melted chocolate. This recipe focuses on simple techniques that create tall, structured cookies with a chewy interior and deep flavor. With the right mixing and shaping methods, you can achieve consistent bakery-quality results at home. For a savory pairing idea, try these Baked Chicken Drumsticks.
Ingredients
- 2 1/4 cups (313 g) all-purpose flour (spooned and leveled)
- 1 1/2 tsp baking powder (for lift)
- 1 tsp baking soda (for spread and browning)
- 1 tsp cornstarch (for softness)
- 3/4 cup (150 g) dark brown sugar (packed, for moisture)
- 1/4 cup (50 g) granulated sugar (for crisp edges)
- 2 large eggs (cold, for structure)
- 2 tsp vanilla extract (pure, for flavor)
- 1 cup (225 g) unsalted butter (slightly softened, not melted)
- 1 pinch salt (to balance sweetness)
- 1 1/2 cups (250 g) semi-sweet chocolate chips (standard size)
- 1 cup (200 g) dark chocolate chips (for richness)
Instructions
- Preheat Oven: Preheat oven to 350°F (180°C) for at least 10 minutes until fully heated; line a light-colored baking sheet with parchment paper.
- Mix Dry Ingredients: Whisk flour, baking powder, baking soda, cornstarch, and salt for 1 minute until evenly combined and lump-free.
- Cream Butter and Sugars: Beat butter, brown sugar, and granulated sugar on medium speed for 3–4 minutes until pale, fluffy, and slightly increased in volume.
- Add Eggs and Vanilla: Add eggs one at a time, mixing 30 seconds each, then add vanilla; continue mixing 2–3 minutes until smooth and glossy.
- Combine Wet and Dry: Gradually mix in dry ingredients on low speed for 1–2 minutes until just combined; dough should look thick and slightly sticky.
- Fold in Chocolate: Stir in chocolate chips for about 30 seconds until evenly distributed; dough will be chunky.
- Shape Dough: Scoop 2-tablespoon portions and stack slightly into rough, tall mounds; keep texture craggy, not smooth.
- Arrange on Pan: Place 4 dough balls per sheet, spacing 4 inches apart; press extra chocolate chips on top for visible pools.
- Bake: Bake on the middle rack at 350°F (180°C) for 13–16 minutes until edges are golden brown and centers look slightly underbaked.
- Cool: Let cookies rest on the baking sheet for 5 minutes until edges firm up, then transfer to a rack to cool completely for another 10–15 minutes.
Notes
- You can substitute dark chocolate chips with milk chocolate for a sweeter flavor.
- Dough can be made ahead and refrigerated up to 3 days; let sit at room temperature for 20 minutes before baking.
- Store baked cookies in an airtight container at room temperature for up to 4 days.
- Reheat cookies in a 300°F (150°C) oven for 5 minutes to restore a warm, gooey center.
- For thicker cookies, chill dough for 30–60 minutes before baking.
- Serve warm with milk or coffee for best texture and flavor contrast.
Nutrition
- Array