Why This Honey Garlic Sauce Recipe Works
I’ve made this Honey Garlic Sauce so many times, and I can tell you the key is blooming the garlic gently. Rushing this step makes the garlic bitter, and nobody wants that! Cooking the garlic slowly in sesame oil until it’s fragrant sweetens it and makes it meld perfectly with the honey. It’s simple, but so good. Trust me, this one is worth it. Now, let’s get started!
Why You’ll Love This Honey Garlic Sauce Recipe
- Ready in under 15 minutes – faster than ordering takeout! I make this at least once a week.
- You don’t need anything fancy here – it uses simple pantry ingredients you probably already have.
- The perfect balance of sweet, savory, and garlicky goodness.
- Works with so many dishes – chicken, shrimp, tofu, vegetables, and more.
- Easily adjustable to your taste – want more garlic or less honey? Go for it!
- My kids absolutely love this drizzled over everything!
What You’ll Need for Honey Garlic Sauce
Let’s break down the ingredients you’ll need to create this irresistible Honey Garlic Sauce. Using the right ingredients and understanding their role will help you achieve the best flavor and consistency. Don’t worry if you don’t have everything on hand – I’ll provide some substitutions and tips to help you customize the recipe.
Aromatics for Honey Garlic Sauce
- Garlic: It’s the star, so use fresh cloves for the best, most pungent flavor. Mince it finely to infuse the sauce evenly. Pre-minced garlic just doesn’t have the same flavor, and it can sometimes have an unpleasant aftertaste. Aim for about 4-5 cloves for a balanced garlic punch, but if you are a serious garlic lover, feel free to add more!
- Ginger (optional): Adds a warm, zesty kick that I personally love. If you’re using it, grate it finely so that it really blends into the sauce. A small knob of ginger, about an inch in size, should be perfect. If you don’t have fresh ginger, you can use about 1/2 teaspoon of ground ginger.
Sauce
- Honey: Use a good quality honey for the best flavor, but any kind will work. We always reach for local wildflower honey because it has a unique floral taste. Different types of honey will impart slightly different flavors to the sauce, so experiment to find your favorite! Clover honey is a good all-purpose choice, while buckwheat honey will have a bolder, more intense flavor.
- Soy Sauce: I prefer low sodium because it helps control the overall saltiness of the sauce. I find regular soy sauce can sometimes overpower the other flavors. If you only have regular soy sauce, start with less and add more to taste. You can also use tamari for a gluten-free option.
- Rice Vinegar: Adds a touch of tangy brightness that balances the sweetness. You don’t need anything fancy here. If you don’t have rice vinegar, you can substitute it with apple cider vinegar or white vinegar, but use a little less as they have a stronger flavor.
- Sesame Oil: A little goes a long way! It adds a nutty, aromatic flavor that makes the sauce sing. Toasted sesame oil is best for that rich aroma. Don’t substitute it with regular oil; the sesame oil really makes a difference.
- Water (or Chicken Broth): To help thin the sauce and create a nice glaze. Chicken broth lends a richer flavor, but water works perfectly well – this is what I make on busy nights. If using chicken broth, opt for a low-sodium variety. Vegetable broth can also be used for a vegetarian option.
Thickening Agent
- Cornstarch: Helps to thicken the sauce to a perfect, glossy consistency when mixed with water. Don’t skip this or it’ll be too thin! If you don’t have cornstarch, you can use arrowroot powder as a substitute; use the same amount.
- Water (for slurry): Creates the base that thickens the sauce. Make sure it’s cold so the cornstarch doesn’t clump. Using cold water is crucial for creating a smooth slurry.
Optional Add-ins
- Red Pepper Flakes: For a touch of heat! Add as much, or as little, as you like. Start with a small pinch and add more to taste.
- Sesame Seeds: To garnish your completed dish. They add a nice visual appeal and nutty flavor. Toast the sesame seeds lightly in a dry pan before sprinkling them on top for an even more intense flavor.
- Green Onions: Add fresh, clean flavor. I love chopping these up and sprinkling them on top right before serving. Chives can also be used as a substitute for green onions.
How to Make This Honey Garlic Sauce Recipe
This Honey Garlic Sauce comes together in three easy phases. Each phase builds upon the last, resulting in a delicious and versatile sauce. Follow along step-by-step to create your own homemade Honey Garlic Sauce.
Phase 1: Sauté the Aromatics
The first phase involves sautéing the aromatics to infuse the oil with flavor. This step is critical for developing the depth of the sauce. Don’t rush it!
- Step 1: Prep the Pan: Heat sesame oil in a saucepan over medium heat. Use a saucepan with a light-colored bottom so you can easily monitor the color of the garlic and prevent burning. Be patient and let the oil heat up properly before adding the garlic.
- Step 2: Sauté Garlic: Add the minced garlic and optional ginger to the hot oil. Cook for about 1-2 minutes, or until fragrant and lightly golden. Don’t burn it! Burnt garlic tastes bitter and will ruin the sauce. Stir the garlic frequently to ensure even cooking. You should be able to smell the garlic as it releases its aroma. If you’re using ginger, add it along with the garlic.
- Step 3: Add Liquids: Stir in the honey, soy sauce, rice vinegar, and water or chicken broth. Make sure all the ingredients are well combined. The mixture will be thin at this point, but it will thicken up in the next phase.
Phase 2: Simmer and Thicken
This is where the sauce really comes together! Simmering allows the flavors to meld, and the cornstarch slurry thickens the sauce to a glossy, delicious consistency.
- Step 4: Simmer: Increase the heat to medium-high and bring the sauce to a simmer. A gentle simmer is what you’re aiming for – large, rapid bubbles mean the heat is too high. Watch the sauce carefully during this stage.
- Step 5: Thickening Process: In a small bowl, whisk together the cornstarch and 2 tablespoons of cold water to create a slurry. Pour the slurry into the simmering sauce. Make sure the cornstarch is fully dissolved in the water before adding it to the sauce – this prevents lumps.
- Step 6: Achieve Desired Consistency: Stir constantly until the sauce thickens to your desired consistency. This should only take a minute or two, so don’t walk away! The sauce should coat the back of a spoon easily. If it’s too thick, add a tablespoon of water at a time until it reaches your desired consistency. If it’s not thick enough, you can add a bit more cornstarch slurry by mixing 1 teaspoon of cornstarch with 1 tablespoon of cold water.
Phase 3: Season and Serve
The final phase is all about tasting, adjusting, and serving! This is your opportunity to make the sauce your own and enjoy the fruits of your labor.
- Step 7: Taste and Adjust: Taste the sauce and add red pepper flakes for heat, if desired. Adjust the honey or soy sauce to your preference. This is where you can really customize the sauce to your taste. If you prefer a sweeter sauce, add more honey. If you want more saltiness, add a splash of soy sauce. If you like it spicy, add more red pepper flakes or a dash of your favorite hot sauce.
- Step 8: Transfer to Serving Dish: Remove from heat and let it rest for a few moments before adding it to your favorite food! Letting the sauce rest for a few minutes allows it to thicken slightly more and for the flavors to fully meld together. You can transfer it to a serving bowl or keep it in the saucepan until ready to use.
Making the Honey Garlic Sauce
Don’t overthink this recipe – this easy sauce is all made in one pan, but remember not to burn the garlic! Pay close attention while cooking the garlic. Burnt garlic will ruin your whole sauce, so watch carefully. Also, you can totally make this in advance. Store it in the fridge, and it’s ready to go whenever you need it.
Tips for the Perfect Honey Garlic Sauce
- Use Fresh Garlic: Fresh garlic is essential for the best flavor. Pre-minced garlic often lacks the pungent flavor of fresh cloves.
- Don’t Burn the Garlic: Keep the heat at medium and stir frequently to prevent burning. Burnt garlic will make the sauce taste bitter.
- Adjust Sweetness and Saltiness: Taste the sauce and adjust the amount of honey and soy sauce to your liking.
- Use a Light-Colored Pan: A light-colored pan will help you monitor the color of the garlic and prevent burning.
- Make a Smooth Slurry: Ensure the cornstarch is fully dissolved in cold water before adding it to the sauce to prevent lumps.
- Simmer Gently: Avoid boiling the sauce rapidly, as this can cause it to thicken too quickly or burn.
- Taste and Adjust: Taste the sauce frequently during cooking and adjust the seasonings as needed. This is your chance to create the perfect flavor for your taste.
Troubleshooting Honey Garlic Sauce
- Sauce is Too Thick: Add a tablespoon of water at a time until it reaches your desired consistency.
- Sauce is Too Thin: Mix 1 teaspoon of cornstarch with 1 tablespoon of cold water and add it to the sauce. Stir until it thickens.
- Sauce is Too Salty: Add a teaspoon of honey or a splash of water to dilute the saltiness.
- Sauce is Too Sweet: Add a teaspoon of rice vinegar or a pinch of red pepper flakes to balance the sweetness.
- Garlic is Burnt: Unfortunately, there’s no way to fix burnt garlic. You’ll need to start over with fresh garlic.
How to Serve It
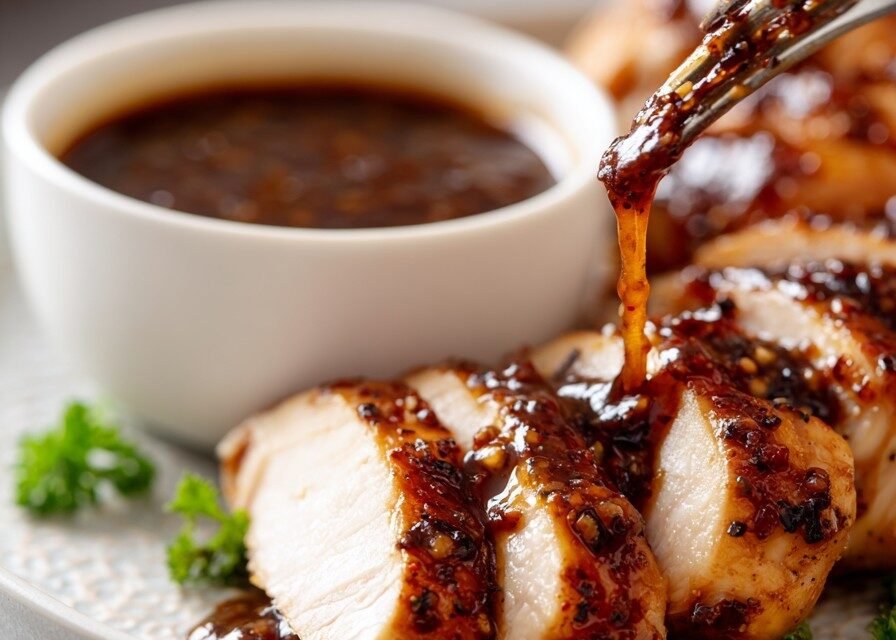
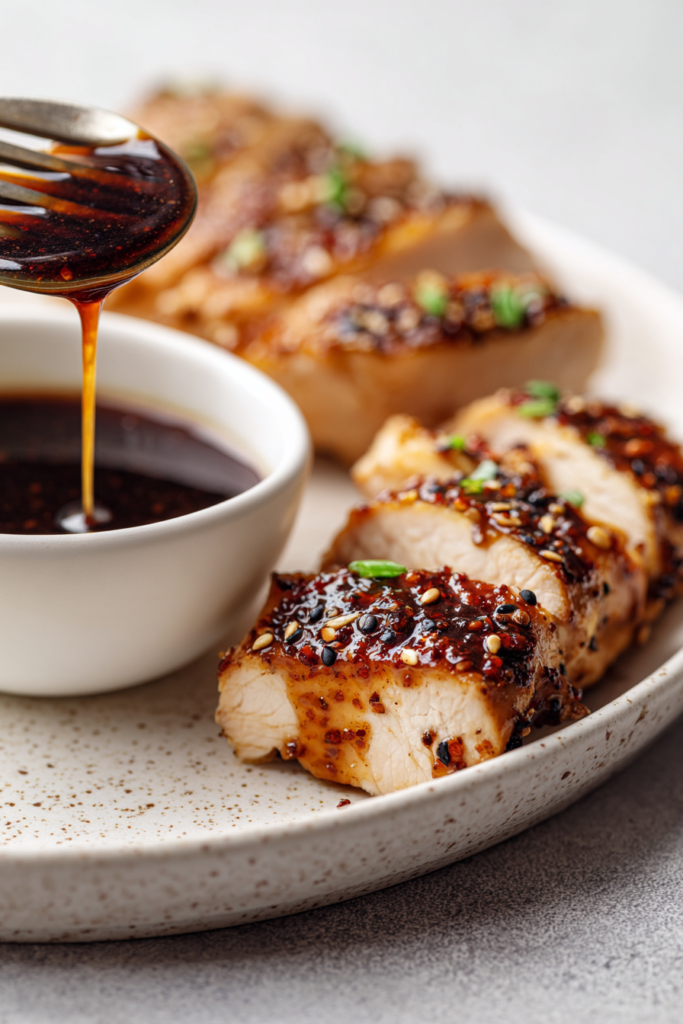
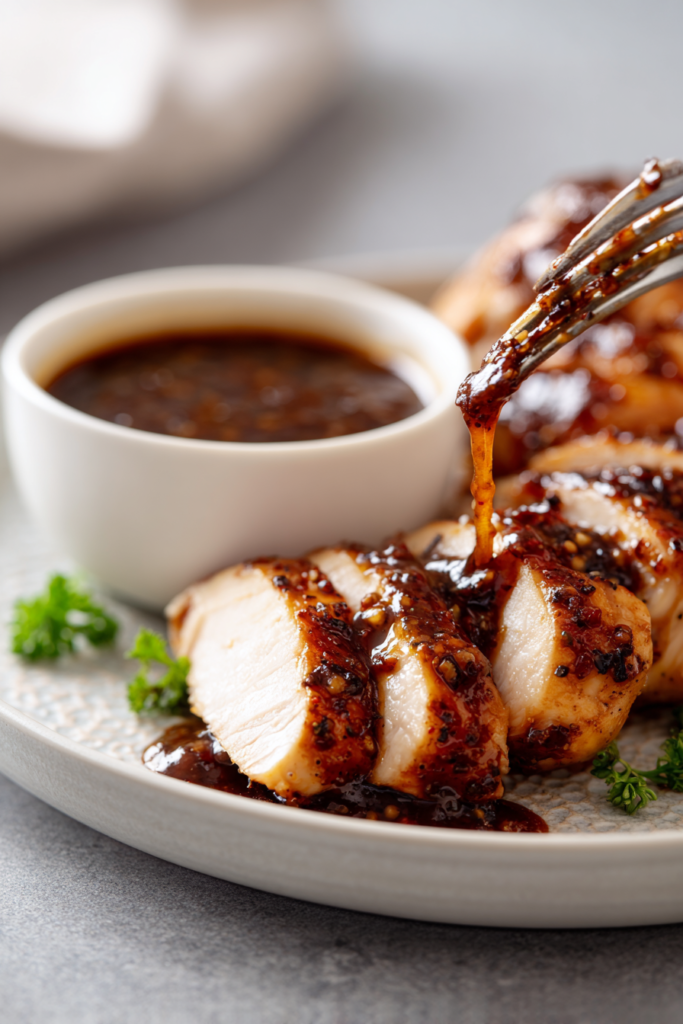
Pour this Honey Garlic Sauce over grilled chicken, pan-fried shrimp, roasted vegetables, or even tofu. Get creative! Drizzle it over anything that needs a boost of flavor. Garnish with a sprinkle of sesame seeds and chopped green onions for a pop of color and freshness. A little garnish makes everything look more appealing! It’s delicious served over rice or noodles. Try it with brown rice, quinoa, or your favorite type of noodles. I usually serve it with a simple side salad. A fresh salad is a great way to balance the richness of the sauce. The flavor is best when freshly made, but it’s still good slightly cooler. This always disappears fast in my house.
Serving Ideas
- Chicken: Honey Garlic Chicken is a classic! Marinate chicken pieces in the sauce before grilling, baking, or stir-frying.
- Shrimp: Toss cooked shrimp in the sauce for a quick and easy appetizer or main course.
- Tofu: Pan-fry or bake tofu until crispy and then drizzle with the sauce.
- Vegetables: Roast your favorite vegetables with Honey Garlic Sauce for a flavorful side dish. Broccoli, Brussels sprouts, and carrots are great choices.
- Noodles: Toss cooked noodles with the sauce for a simple and satisfying meal. Add some protein and vegetables for a complete dish.
- Rice: Drizzle the sauce over rice for added flavor.
- Spring Rolls: Use the sauce as a dipping sauce for spring rolls or egg rolls.
- Wings: Coat chicken wings in the sauce after baking or frying them.
Storage and Reheating
- Fridge: Store leftover Honey Garlic Sauce in an airtight container in the refrigerator for up to 5 days. Make sure the container is properly sealed to prevent the sauce from absorbing odors in the fridge.
- Freezer: I do NOT recommend freezing it. The sauce can become grainy after thawing, and the texture just isn’t the same. Trust me on this one! If you absolutely must freeze it, use a freezer-safe container and leave some headspace for expansion. However, be aware that the texture may change.
- Reheating: Gently reheat the sauce in a saucepan over low heat, or microwave it in 30-second intervals, stirring in between, until warmed through. If the sauce has thickened too much, add a teaspoon of water to loosen it up. Stir frequently to ensure even heating and prevent scorching.
Make Ahead Tips
- Prepare Ingredients in Advance: Mince the garlic and ginger, and measure out the other ingredients ahead of time to save time when you’re ready to cook.
- Make the Sauce Ahead of Time: The sauce can be made up to 5 days in advance and stored in the refrigerator. This is a great option for meal prep or when you know you’ll be short on time during the week.
Variations
- Spicy Honey Garlic Sauce: Add more red pepper flakes or a dash of your favorite hot sauce for extra heat. Sriracha, chili garlic sauce, or gochujang would all be great additions.
- Lemon Honey Garlic Sauce: Add a tablespoon of lemon juice for a bright, citrusy flavor. The lemon juice will also help balance the sweetness of the honey.
- Brown Sugar Honey Garlic Sauce: Substitute brown sugar for honey for a richer, more caramel-like flavor.
FAQ
Q: Can I use maple syrup instead of honey? A: Yes, you can, but the flavor will be different. Use a good quality maple syrup and adjust the amount to taste. Maple syrup has a deeper, bolder flavor than honey, so you might want to use a little less to start, then add more to taste.
Q: How do I prevent the garlic from burning? A: Keep the heat at medium and stir frequently. Remove the pan from the heat momentarily if the garlic starts to brown too quickly. This is especially important with minced garlic, since the smaller pieces can burn faster.
Q: Can I make this sauce ahead of time? A: Absolutely! Prepare the sauce and store it in the refrigerator for up to 5 days. Reheat gently before serving. Making it ahead is great for meal prep or when you know you’ll be short on time during the week.
Helpful References:
Related Recipes
Honey Garlic Sauce recipe
- Prep Time: 10
- Cook Time: 5
- Total Time: 15
- Yield: 6 servings 1x
- Category: Sauce
- Method: Stovetop, Mixing
- Cuisine: Asian
- Diet: Gluten Free

Description
This Honey Garlic Sauce recipe strikes the perfect balance of sweet and savory, creating a glossy glaze ready in minutes. Using only a few pantry staples, this versatile sauce is amazing on chicken, vegetables, noodles, and more! The key is to gently bloom the garlic to avoid any bitterness, infusing it with sesame oil until it’s fragrant.
Ingredients
- 4–5 cloves garlic (freshly minced)
- 1 inch ginger (optional, finely grated)
- 1/4 cup honey (good quality)
- 2 tablespoons soy sauce (low sodium)
- 1 tablespoon sesame oil
- 1 tablespoon rice vinegar
- 1 teaspoon cornstarch
- 2 tablespoons water
- 1/4 teaspoon red pepper flakes (optional)
- 1 tablespoon sesame seeds (for garnish)
- 2 green onions (chopped, for garnish)
Instructions
- Prepare Garlic and Ginger: Mince the garlic and grate the ginger (if using). Set aside.
- Combine Cornstarch and Water: In a small bowl, whisk together the cornstarch and water until smooth. This will prevent clumps and help thicken the sauce.
- Sauté Garlic in Sesame Oil: Heat the sesame oil in a small saucepan over medium-low heat. Add the minced garlic and sauté for 2-3 minutes, stirring constantly, until fragrant and lightly golden. Be careful not to burn the garlic.
- Add Ginger: If using ginger, add it to the pan with the garlic and sauté for another 30 seconds, until fragrant.
- Incorporate Honey and Soy Sauce: Pour in the honey and soy sauce. Stir well to combine.
- Add Rice Vinegar and Red Pepper Flakes: Add the rice vinegar and red pepper flakes (if using) to the saucepan. Stir well to incorporate all ingredients.
- Thicken the Sauce: Pour the cornstarch slurry (cornstarch and water mixture) into the saucepan. Stir continuously to avoid clumping.
- Simmer the Sauce: Bring the sauce to a gentle simmer over medium heat. Continue to stir frequently for about 2-3 minutes, until the sauce has thickened to your desired consistency and is glossy.
- Taste and Adjust: Taste the sauce and adjust the seasonings as needed. Add more honey for sweetness, soy sauce for saltiness, or red pepper flakes for heat.
- Remove from Heat: Once the sauce has thickened and the flavors have melded, remove the saucepan from the heat.
- Garnish and Serve: Garnish with sesame seeds and chopped green onions before serving.
- Use Immediately or Store: Use the honey garlic sauce immediately or store it in an airtight container in the refrigerator for later use.
Notes
- Substitutions: If you don’t have rice vinegar, apple cider vinegar or white wine vinegar will work in a pinch. For a spicier sauce, add a pinch of cayenne pepper.
- Make Ahead: This sauce can be made 2-3 days in advance and stored in an airtight container in the refrigerator.
- Storage: Store leftover honey garlic sauce in an airtight container in the refrigerator for up to 5 days.
- Reheating: Reheat the sauce in a saucepan over low heat, stirring occasionally, until warmed through, about 5-7 minutes. You can also reheat it in the microwave in 30-second intervals, stirring between each interval.
- Serving Suggestions: This sauce is delicious on chicken, shrimp, tofu, vegetables, rice, and noodles. Try drizzling it over baked chicken drumsticks or using it as a marinade.
- Variation: For a richer flavor, add 1 tablespoon of oyster sauce (if not vegetarian).
- Consistency: If the sauce is too thick, add a tablespoon of water at a time until you reach your desired consistency. If it’s too thin, simmer it for a few more minutes to reduce.
Nutrition
- Array