
In This Article
- The “Oops” Moments That Taught Me Everything
- Why You’ll Love It
- Ingredients
- How to Make
- Pro Tips for Best Results
- Common Mistakes to Avoid
- Variations
- FAQ
Crispy Chicken Carnitas: The “Oops” Moments That Taught Me Everything
The first time I attempted this recipe, I treated the chicken like a standard braise—I submerged the thighs in way too much liquid and tried to crisp them while they were still half-drowned. The result was mushy, pale, and thoroughly disappointing. It took three tries to realize the chicken needed to be pulled from the pot completely before hitting the broiler.
I also learned that the broiler is aggressive. My first attempt resulted in a few burnt edges because I walked away. Now, I keep my kitchen shoes on and stay right by the oven light. Those two or three minutes of watchful waiting are the difference between a sad pile of meat and a tray of golden, caramelized edges.
Why You’ll Love It
- The high-heat finish creates Crispy Chicken Carnitas edges that don’t rely on breading or flour.
- It bridges the gap between a weeknight meal and weekend-style comfort food.
- The braising liquid adds so much moisture that the meat stays tender even after sitting under the flame.
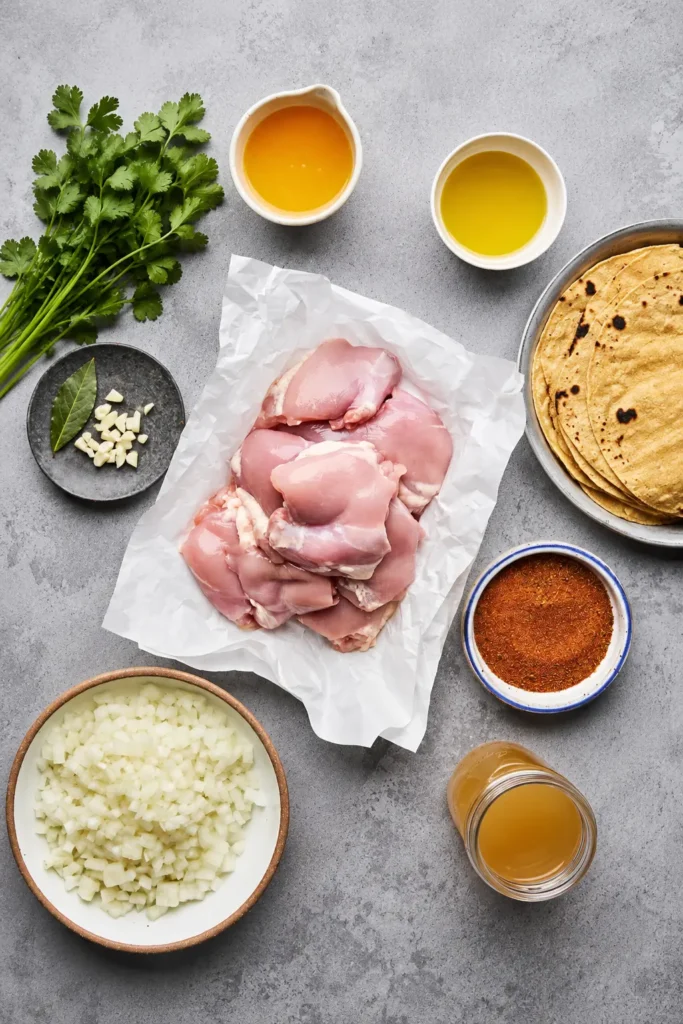
Ingredients
Crispy Chicken Carnitas The Protein
- Boneless, Skinless Chicken Thighs: Mandatory for this method. They hold onto moisture through the braise, whereas breast meat turns stringy when broiled.
The Braising Liquid
- Fresh Orange Juice: Provides natural sugars for the char and a bright, acidic balance that cuts through the savory fat.
- Chicken Stock: Keeps the meat hydrated. You can find my go-to base recipe here to round out your taco night.
- Taco Seasoning: Use a blend with chili powder and cumin to ensure consistent flavor distribution.
How to Make
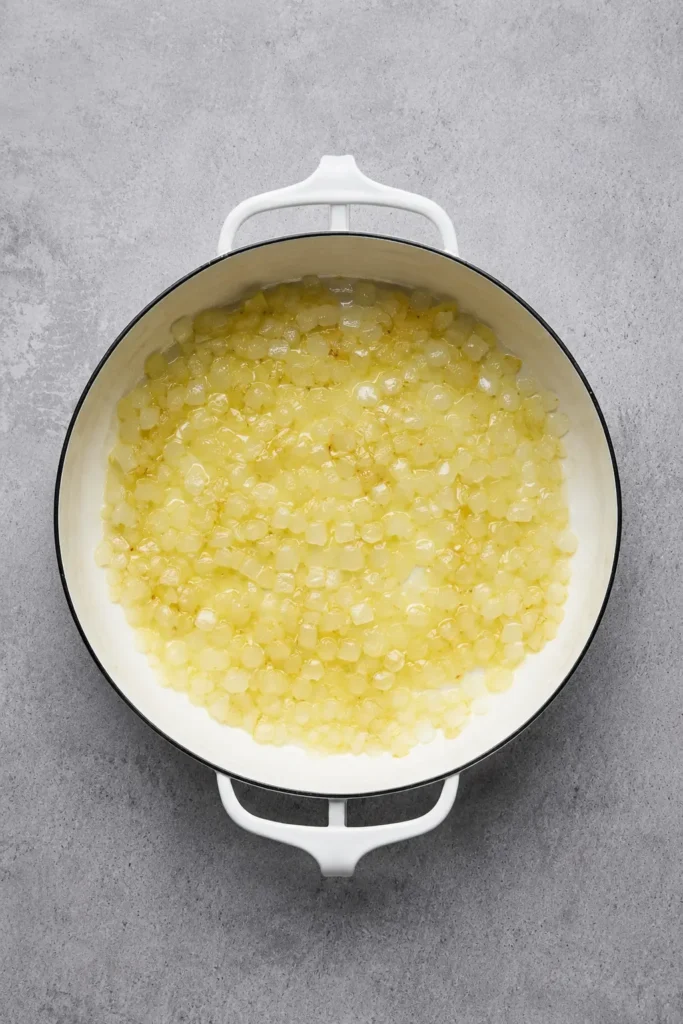
Step 1: Prep the Aromatics – Heat a couple of tablespoons of oil in your Dutch oven over medium-high heat. Add your diced onion and cook until it looks like soft, melted gold. Stir in the minced garlic for just a minute until the kitchen smells fragrant and savory.
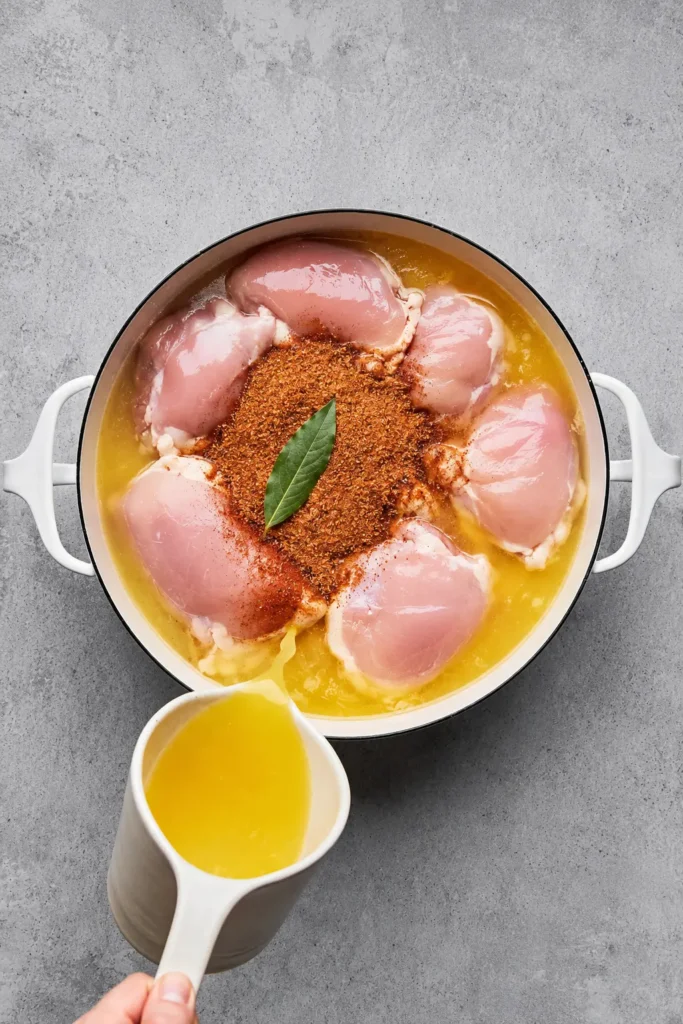
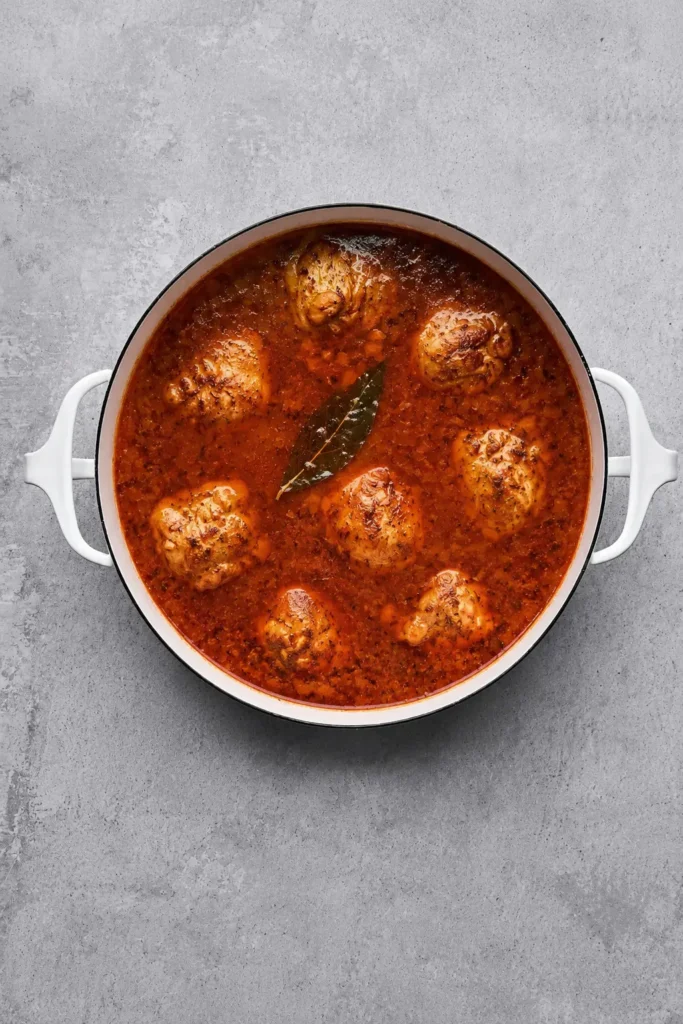
Step 2: Start the Braise – Pour in your chicken stock, orange juice, and taco seasoning. Nestle the thighs into the pot so they are mostly covered. Let it simmer, covered, for 45 minutes; the chicken is ready when it falls apart under the gentle pull of a fork.
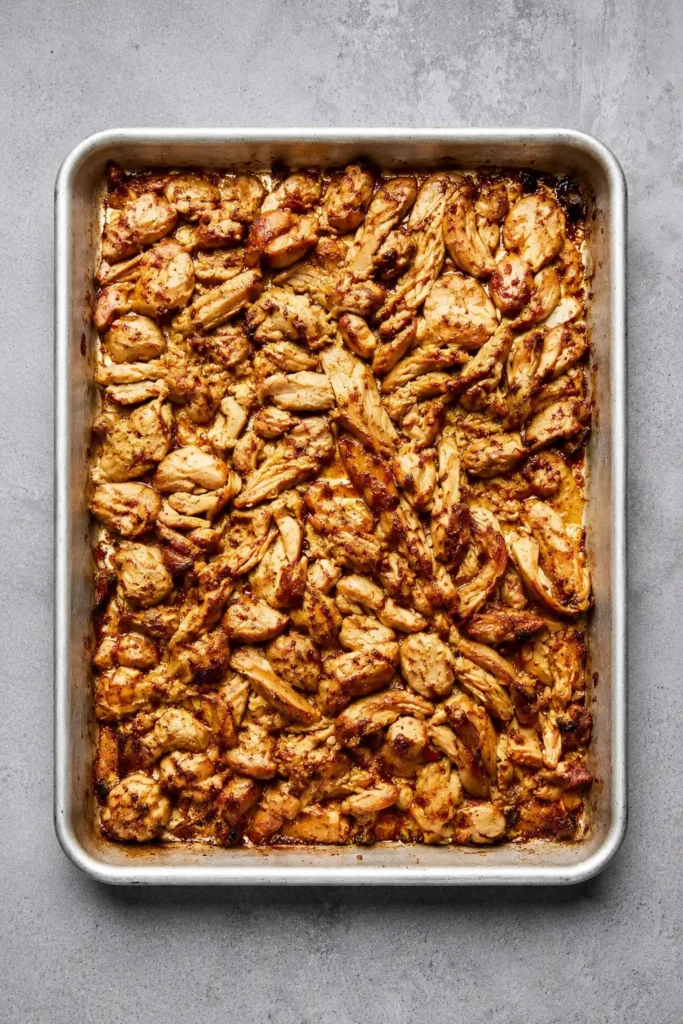
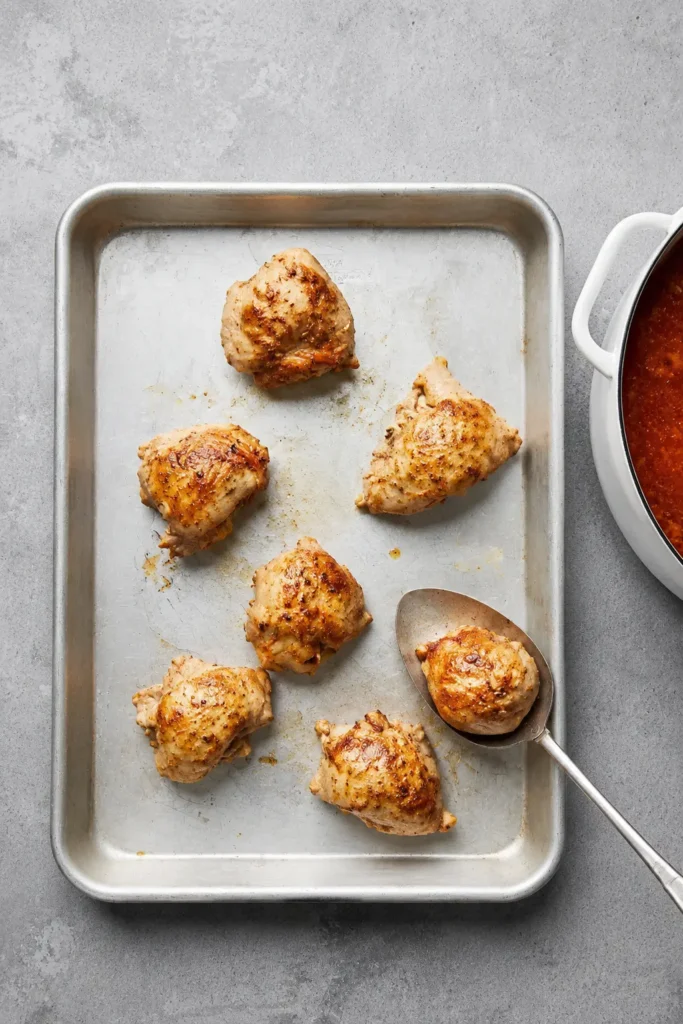
Step 3: The Shred – Move the chicken to a large, rimmed baking sheet. Shred it into nice, chunky pieces rather than thin shreds—the thicker the piece, the better the final texture. Drizzle a few tablespoons of the cooking liquid over the tray to keep it moist.
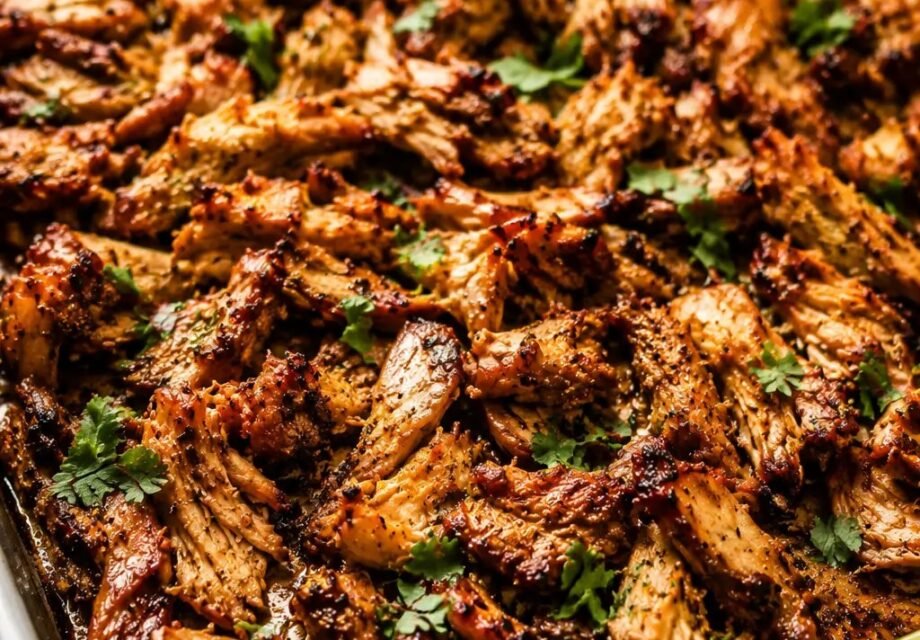
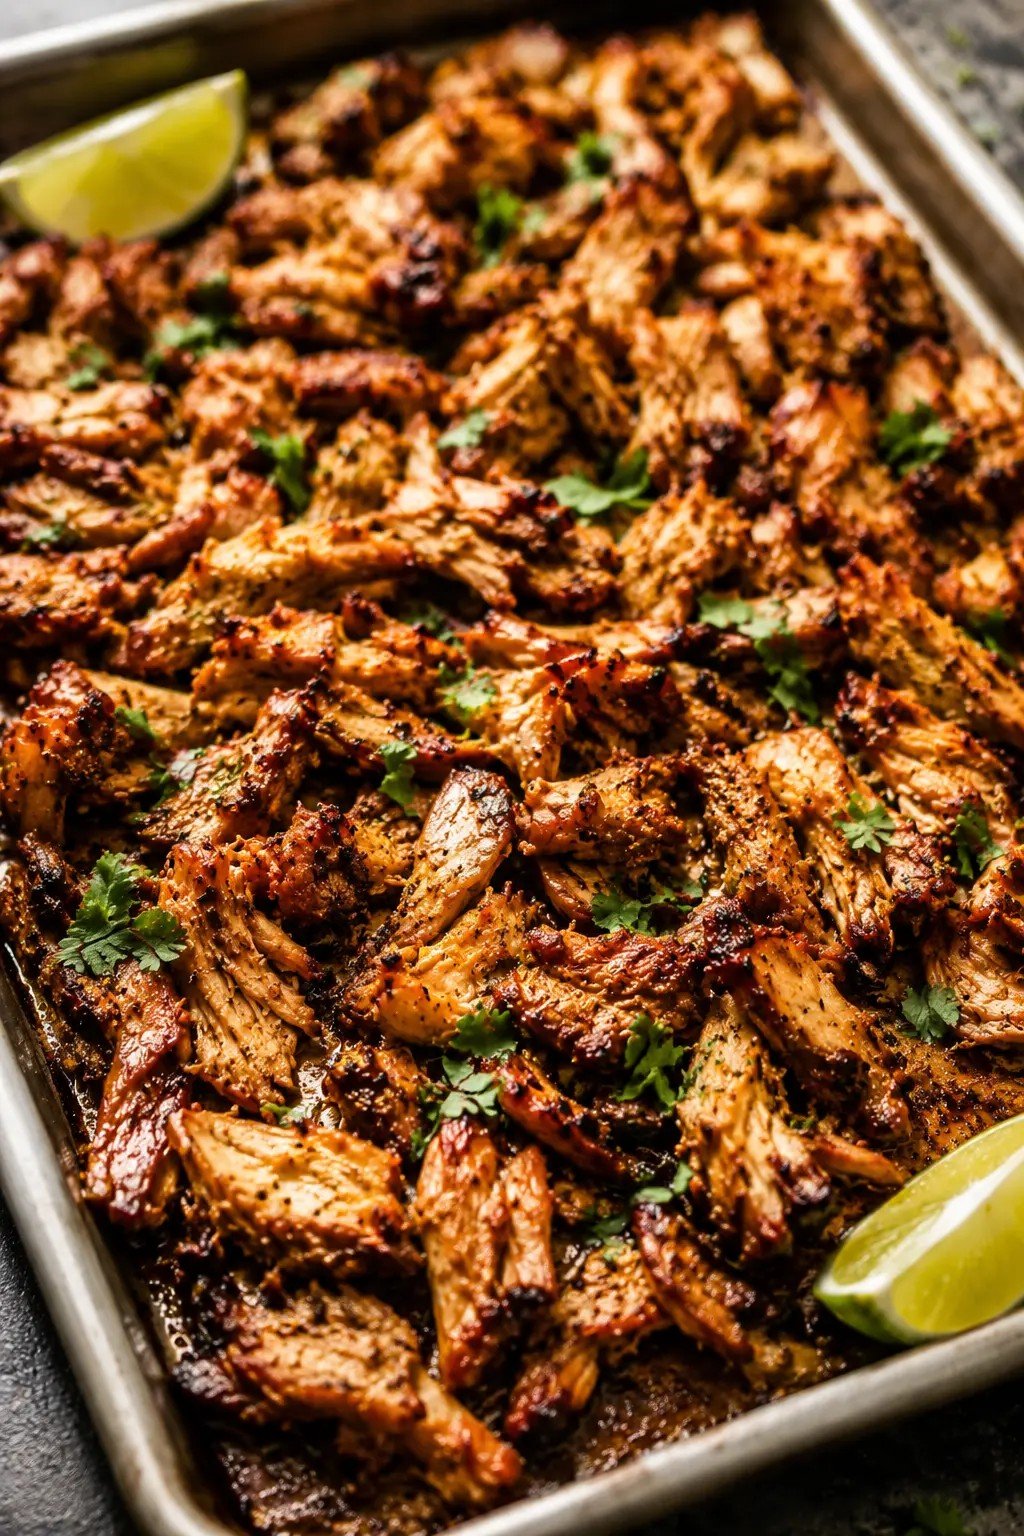
Step 4: The Final Sear – Slide the tray onto the top rack under a High broiler. Watch closely! You want the edges to turn dark brown and crispy, which usually takes 5–8 minutes. If you hear a distinctive sizzle, that is the sound of success.
Pro Tips for Best Results
- Keep the chicken in an even, single layer on your baking sheet so every piece catches the broiler heat.
- Strain and save your leftover braising liquid; it creates a fantastic base for a quick pan-sauce later in the week.
- Before serving, toss the tray to bring the moist underside pieces to the surface.
- Wait until after the broiler step to add fresh cilantro or lime; heat kills the bright flavor of fresh herbs.
Common Mistakes to Avoid
- Don’t leave the chicken in the liquid after it is cooked, or it won’t crisp up properly.
- Avoid shredding the meat too thin, as it will dry out before it gets a chance to caramelize.
- Don’t walk away during the final 5 minutes; the natural sugars can go from caramelized to burnt in seconds.
Variations
You can easily adjust these based on your pantry or spice preference:
- Add fresh diced jalapeños to the braise for a kick of heat.
- Use a splash of chipotle adobo sauce in the liquid for a deeper, smokier profile.
- Serve in butter lettuce cups for a lower-carb option.
- Check out this quick pickled onion recipe to add that essential acidic crunch.
FAQ
Can I use chicken breasts instead of thighs?
I don’t recommend it. Thighs have enough fat to stay juicy during the double-cooking process, whereas breasts often become stringy once you hit them with the broiler.
How long do leftovers last?
Keep these in the fridge for up to 4 days. When you’re ready to eat, toss the chicken into a hot, oiled skillet for 2 minutes to bring back that crunch.
What should I serve with these?
These are fantastic in street-style corn tortillas with creamy cilantro lime dressing and a spoonful of salsa.
These Crispy Chicken Carnitas are my absolute favorite for when I want restaurant-quality results at home. Master this method today and give these a try for your next taco night!
Crispy Chicken Carnitas Worth Making Every Season
- Prep Time: 10
- Cook Time: 50
- Total Time: 60
- Yield: 4 servings 1x
- Category: Dinner
- Method: Stovetop/Broiler
- Cuisine: Mexican-Inspired
- Diet: Gluten Free
Description
These crispy chicken carnitas deliver the perfect contrast of juicy, tender centers and deeply caramelized, golden-brown edges. By braising the meat in a bright citrus-infused stock before a quick blast under the broiler, this dish captures authentic depth of flavor in a fraction of the traditional time.
The secret to this recipe is the reserved braising liquid; brushing the shredded chicken with it just before broiling ensures the meat stays succulent while it develops those signature crispy bits. It is the perfect weeknight solution for taco lovers who crave restaurant-quality texture without the long, slow simmer.
Ingredients
Protein and Aromatics
- 2 lbs boneless, skinless chicken thighs
- 2 small onions, finely chopped (divided)
- 2 garlic cloves, chopped
- ¼ cup extra-virgin olive oil
Braising Liquid
- 2 cups chicken stock
- ½ cup fresh orange juice
- 1 bay leaf
- ¼ cup taco seasoning
For Serving
- 1 cup fresh cilantro, finely chopped
- 16 (6-inch) corn or flour tortillas, warmed
Instructions
- Sauté the aromatics: Heat olive oil in a large pot over medium heat until glistening. Add half the onions and cook for 5 minutes until soft, then stir in the garlic and cook for 1 minute until fragrant.
- Braise the chicken: Add the chicken thighs, chicken stock, orange juice, bay leaf, and taco seasoning to the pot. Increase heat to high to reach a boil, then reduce to a simmer, cover, and cook for 45 minutes until the chicken is tender enough to shred easily.
- Shred the meat: Remove the chicken from the pot using a slotted spoon and place onto a rimmed sheet pan. Use two forks to shred the meat into 1-inch pieces, spreading them into a single, even layer.
- Moisten for flavor: Drizzle and brush about ¼ cup of the reserved cooking liquid over the shredded chicken to ensure it stays juicy and develops a deep color.
- Broil to crisp: Turn on the broiler and cook the chicken for approximately 10 minutes, tossing the pieces halfway through until the edges are golden-brown and crispy.
- Final assembly: In a small bowl, mix the remaining fresh onion with the chopped cilantro. Serve the crispy chicken immediately alongside the warm tortillas and the onion-cilantro mixture.
Notes
- Make-ahead tip: The chicken can be braised and shredded up to 2 days in advance; keep it in the fridge and broil right before serving.
- Storage: Store leftovers in an airtight container in the refrigerator for up to 3 days.
- Freezing: Freeze the cooked, shredded chicken (without broiling) in a freezer-safe bag for up to 2 months; thaw in the fridge before finishing under the broiler.
- Reheating: For best texture, reheat in a hot skillet over medium-high heat with a splash of broth until crisp, rather than using a microwave.
- Substitution: Use lime juice instead of orange juice if you prefer a sharper, more acidic flavor profile.
- Serving suggestion: Serve these carnitas with lime wedges, pickled red onions, and a scoop of creamy guacamole on your favorite tortillas.
Nutrition
- Array
Finally, perfect crispy edges
I used to drown my chicken, just like the author mentioned in the ‘oops’ section. Following the tip to avoid too much liquid made such a difference, and broiling them at the end gave me that perfect texture. My whole family loved these!
★★★★★
So much faster than pork
I was skeptical that chicken could mimic pork carnitas, but the broiler step totally changes the game. I swapped the thighs for breasts because that’s what I had in the fridge, and it still came out juicy. Great weeknight meal.
★★★★★
Total game changer
The lesson about not submerging the meat is spot on; my first attempt was a bit soggy until I adjusted the liquid ratios. Now that I’ve nailed the technique, these crispy edges are my new gold standard for taco night.
★★★★★
Quick and delicious
Usually I spend hours on carnitas, but this method is a lifesaver for busy Tuesdays. The meat stayed tender, and finishing it under the broiler provided that crave-worthy char I was looking for. Will definitely be making this again.
Great flavor, easy prep
I followed the pro tips to shred the chicken before crisping, and it worked perfectly. It really does provide that nice contrast where the bits are crunchy but the inside is still juicy. A solid 10/10 recipe for my rotation.
★★★★★
Solid recipe
Learned my lesson from the ‘common mistakes’ section and stopped drowning the thighs in liquid! The flavor is incredible and it’s way easier than traditional pork recipes. It’s quickly become a household favorite around here. 🌮
★★★★★